
These instructions were written based on Microsoft Outlook 2013 (15.0.4701.1000) with CalDavSynchronizer (2.22.2) on an Windows 7 64-bit. Some steps may differ if you are using a different version of Windows, Outlook or CalDavSynchronizer.
Download and run CalDavSynchronizer from https://mirror.ttech.com.au/caldavsynchronizer/ttech/OutlookCalDavSynchronizer-2.22.2.exe.

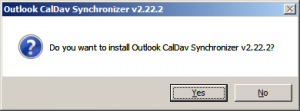
Confirm that you want to install the Outlook CalDav Synchronizer by clicking Yes.
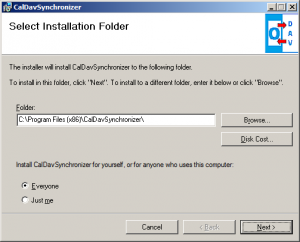
Click Next.

Make sure that Everyone is selected and click Next.
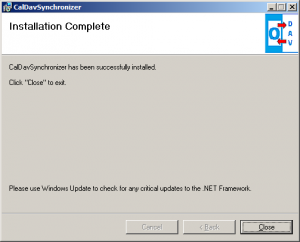
Wait while the installer completes.

Once the installer has completed click Close.
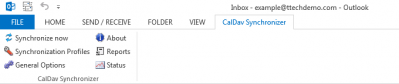
Launch Microsoft Outlook 2013.
![]()
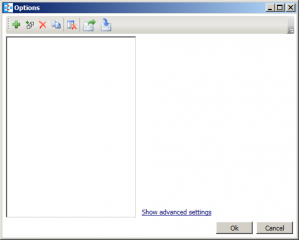
At the Outlook window click CalDav Synchronizer in the menu bar.

Then click on Synchronization Profiles button in the ribbon.
Click the green + button.
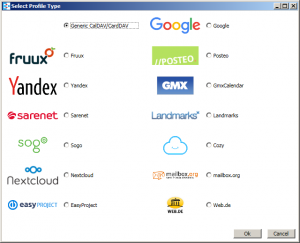
Select Generic CalDAV/CardDAV option and click OK.
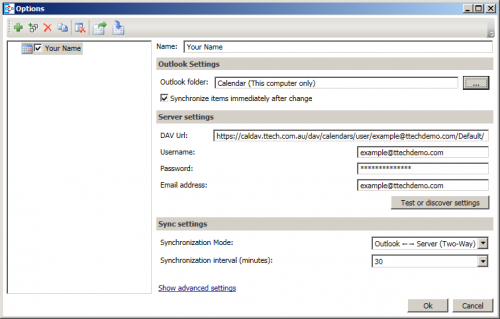
In the options window set Name to your full name.
Set DAV Url to https://caldav.ttech.com.au/dav/calendars/user/<YOUR_EMAIL_ADDRESS>/Default/ (replace <YOUR_EMAIL_ADDRESS> with your email address).
Set both Username and Email address to your email address. Put your password into the Password box.
Then click the [...] button to select your Calendar folder.
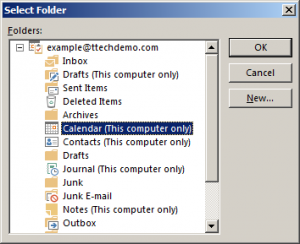
Select your Calendar folder. Usually Calendar (This computer only). Then click OK.
Click Test or discover settings. The popup window should return Connection test successful. If it doesn't please recheck your settings. Then click Ok.
Your Outlook calendar will now synchronize with the Treen Technology CalDav server.